Skip to main content.
Ways to Save

Energy Efficiency Program

The Virginia Natural Gas Energy Efficiency Program encourages our customers to create more energy-efficient and sustainable homes.

As part of our Energy Efficiency Program, you can take a free online home energy audit to help determine your home energy usage and identify energy-saving opportunities. After taking the audit, you can choose between one of our three free energy-savings kits filled with items to help you get started on your path to conserving energy.

Our Energy Efficiency Program also includes money-saving rebates on new high-efficiency home equipment, such as natural gas furnaces, water heaters and SMART thermostats, that are designed to help you save energy and money and reduce your environmental impact.

Get started on your journey to a cleaner, more energy-efficient household today.

Read our program Terms and Conditions.


Request a Free Energy-Savings Kit

You can request a free energy-savings kit to help you get started on your path to saving energy and money

Request Now
Find a contractor

Find a Contractor

At Virginia Natural Gas, it’s important to us that our customers have access to qualified natural gas professionals who will properly install and maintain the natural gas equipment inside their homes or businesses. Our list of preferred gas contractors are leaders in the industry and will use their expertise to ensure the safety, reliability and longevity of your natural gas equipment. Learn about our Qualified Gas Contractors-Preferred (QGC-P) program and access our list of contractors.

Search for Qualified Contractors

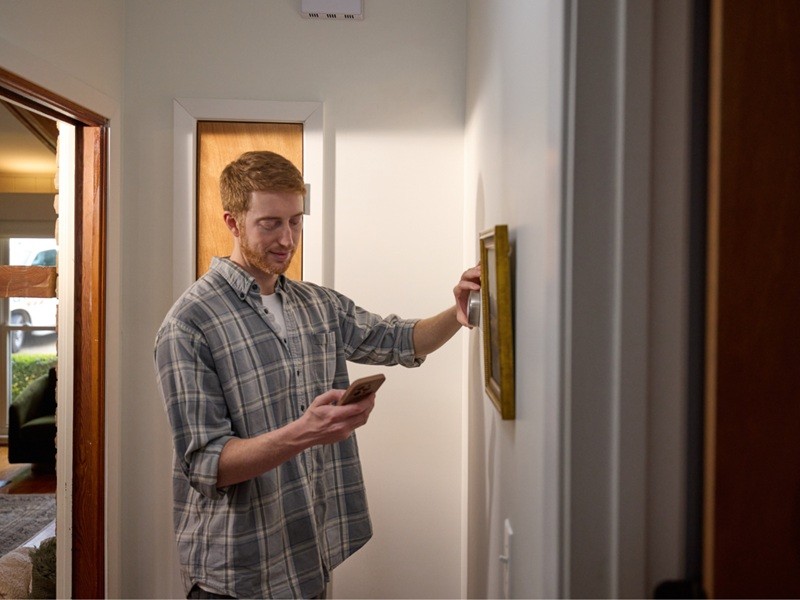
Energy Efficiency Glossary

Get familiar with the language of energy efficiency through our glossary. The more you know, the more you can save!

Learn More

Low-Income Weatherization Program

Virginia Natural Gas partners with project: HOMES to provide home weatherization products and resources through our Energy Efficiency Program to qualifying customers free of charge. To find out if you qualify and for program enrollment, please visit the project: HOMES website at Utility Programs | projecthomes.

Energy-Savings Kit Instructions

Below is a breakdown of easy-to-install instructions for the contents of each of our three energy-saving kits. You will also find how-to videos guiding you through the set-up process for most of the items. So, let’s get started and put you on the path to saving energy and money!

Don't have a kit yet? Take our free online home energy audit and request yours today.

earth showerhead chrome

Earth® Showerhead, Chrome

To install:

  1. Remove your current showerhead from the shower arm by turning it counter-clockwise, then clean the shower arm threads.
  2. Turn the water on to wash out the pipe, then turn the water off.
  3. Apply a few layers of plumber’s tape directly to the shower arm threads in a clockwise direction to create a watertight seal.
  4. Check that the screen washer is seated firmly into the showerhead before tightening.
  5. Hand-tighten the showerhead onto the shower arm. Do not overtighten.
Watch How-to Video
Dual-Spray Swivel Kitchen Faucet Aerator, 1.5 GPM

Dual-Spray Swivel Kitchen Faucet Aerator, 1.5 GPM

Watch How-to Video
Dual-Threaded Bubble Faucet Aerator, 1.0 GPM

Dual-Threaded Bubble Faucet Aerator, 1.0 GPM

Watch How-to Video
Hot Water Pipe Wrap Insulation

Hot Water Pipe Wrap Insulation

Watch How-to Video
Hot Water Temperature Gauge

Hot Water Temperature Gauge

5-Minute Stop In Time¨ Shower Timer, Blue

5-Minute Stop In Time¨ Shower Timer, Blue

Self-Stick Door Sweep, Clear

Self-Stick Door Sweep, Clear

To install, simply cut to size, peel off the red strip and stick into place. The door sweep comes individually packaged with installation instructions.

Acrylic Caulk Adhesive Sealant, Clear

Acrylic Caulk Adhesive Sealant, Clear

To Use:
Follow directions on the tube.

Caulk Gun

Caulk Gun

Closed-Cell Foam Tape Weather Stripping 3/4" x 3/8" (17' Roll)

Closed-Cell Foam Tape Weather Stripping 3/4" x 3/8" (17' Roll)

To Install:

  1. Remove any existing tape.
  2. Clean the surface and allow it to dry completely.
  3. Cut tape to desired length with scissors.
  4. Press in place with fingertips.
  5. Apply to door frame with creased side facing door on all sides.
  6. Be sure the tape is compressed by closed door.
Watch How-to Video
Switch and Outlet Sealing Gaskets, 12 Pack

Switch and Outlet Sealing Gaskets, 12 Pack

To install:

  1. Open the sealing gaskets and punch out the centers.
  2. Remove your wall plate and position the switch or outlet sealers directly behind plate with the smooth side against plate.
  3. Reinstall the wall plate. If necessary, trim with scissors to fit.
Watch How-to Video
Deluxe Window Insulation Kit

Deluxe Window Insulation Kit

To Install:

Do not apply tape to wallboard, plaster, veneer paneling or mahogany molding. If surface of molding is below 40ºF (5ºC), heat with hair dryer prior to applying tape.

  1. Clean and dry window or patio door frame thoroughly.
  2. Apply tape, liner still intact, to the outside edge or to the face of the window or patio door frame. 
  3. Peel off liner to expose adhesive.
  4. Unfold film and cut to size, allowing at least 2” (5 cm) extra film on all four sides. Film may be removed and repositioned, if necessary.
  5. Press film securely to tape.
  6. Shrink the film with a hand-held hair dryer, set at highest heat setting. Hold the dryer about 1/4” (6 mm) from film surface, starting at one corner and moving slowly back and forth across the entire film surface until all wrinkles and creases disappear. Avoid touching film with dryer.
  7. Trim excess film with scissors or protected razor blade.
  8. Clean film with damp soft cloth when required.

For easy removal: Heat tape with hair dryer and slowly peel off.

Watch How-to Video
Acrylic Caulk Adhesive Sealant, Clear

Acrylic Caulk Adhesive Sealant, Clear

To Use:
Follow directions on the tube.

Caulk Gun

Caulk Gun

Closed-Cell Foam Tape Weather Stripping 3/4" x 3/8" (17' Roll)

Closed-Cell Foam Tape Weather Stripping 3/4" x 3/8" (17' Roll)

To Install:

  1. Remove any existing tape.
  2. Clean the surface and allow it to dry completely.
  3. Cut tape to desired length with scissors.
  4. Press in place with fingertips.
  5. Apply to door frame with creased side facing door on all sides.
  6. Be sure the tape is compressed by closed door.
Watch How-to Video
Switch and Outlet Sealing Gaskets, 12 Pack

Switch and Outlet Sealing Gaskets, 12 Pack

To install:

  1. Open the sealing gaskets and punch out the centers.
  2. Remove your wall plate and position the switch or outlet sealers directly behind plate with the smooth side against plate.
  3. Reinstall the wall plate. If necessary, trim with scissors to fit.
Watch How-to Video